How to Calculate Custom Packaging Costs and Plan Your Box Budget
Share:
One of the most crucial investments that a growing brand can make is custom packaging. It helps to ensure product safety, adds credibility on the shelf and helps to create an impression from the insta...
Share:
Instant Quote
One of the most crucial investments that a growing brand can make is custom packaging. It helps to ensure product safety, adds credibility on the shelf and helps to create an impression from the instant a package reaches the door until the customer opens it. However, before ordering, there is always one question. What will the actual cost be?
Learning how to calculate custom packaging costs and plan your box budget does not have to be complicated. The box style, material, size, printing, finishes and quantity ordered are all a few clear choices that will determine your final price.
Once you understand how each works, you can have an accurate packaging budget before requesting a quote. This guide will take you through the entire process step-by-step, in simple terms.
Key Takeaways
The materials you use are one of the most critical components of your packaging costs.
Typically, the higher the order the less the cost per box.
A proper sized box will save you material and postage costs.
However, special finishes such as foil or embossing are an additional expense but also a premium look.
There is one simple formula to find your cost per box.
Quick Answer: The Custom Packaging Cost Formula
After receiving a quote, you can calculate the cost per box using this formula:
Total Order Cost divided by Number of Boxes = Cost Per Box
When comparing quotes from two suppliers, ensure that both quotes are for the same size, material and printing. The lower the price, the smaller the box the less the print area, and that is not necessarily a better deal.
How Order Quantity Changes Your Cost Per Box
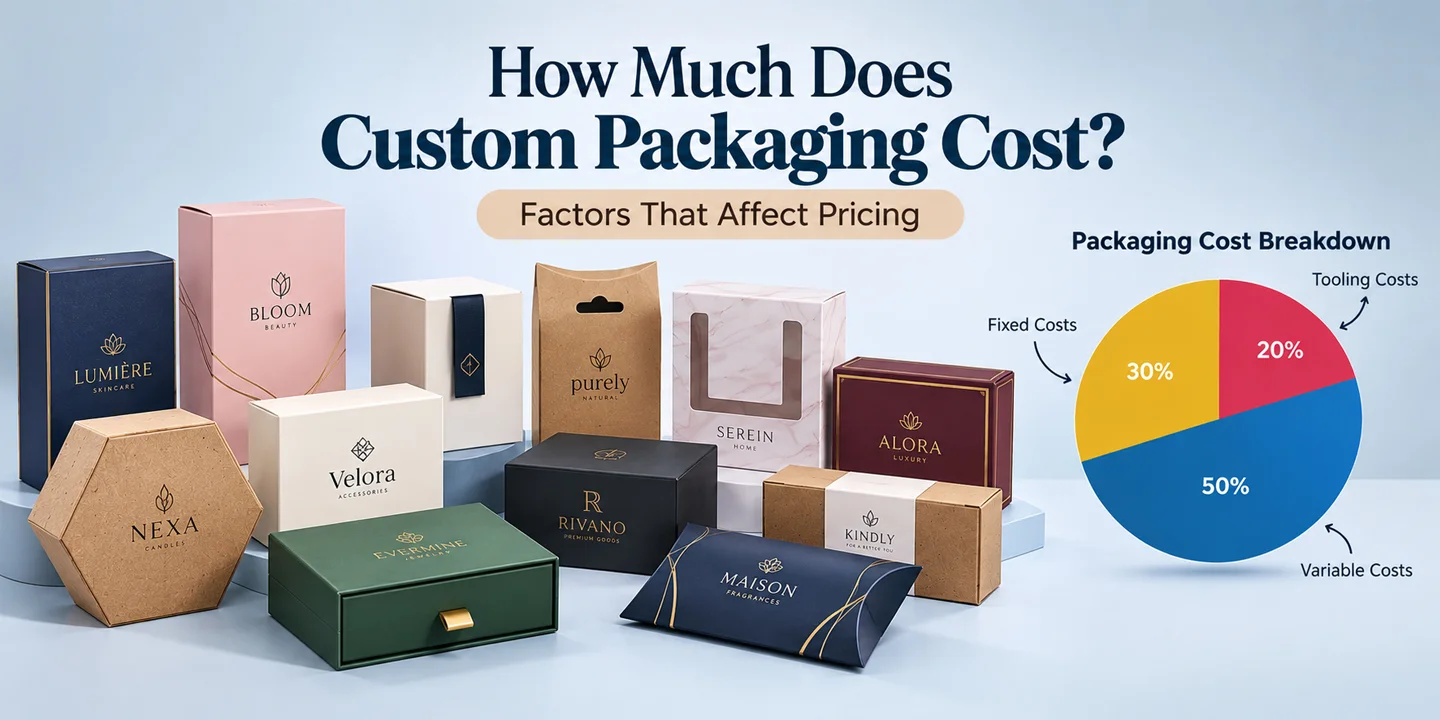
There are no setup or tooling changes based on the number of boxes ordered. If you distribute this fixed expense over more boxes, then the price per box decreases in increments. This pattern is illustrated in the table below, with the example of a sample box. These numbers will vary depending on your box design, box material and supplier.
Order Quantity
Sample Cost Per Box
Sample Total Cost
250
$2.40
$600
1,000
$1.50
$1,500
2,500
$1.05
$2,625
5,000
$0.82
$4,100
The price of the box continues to decline and the price of the order continues to rise. Test your own formula with all amounts you are thinking of, and then compare the price to space, cashflow and the speed at which you plan to use the boxes.
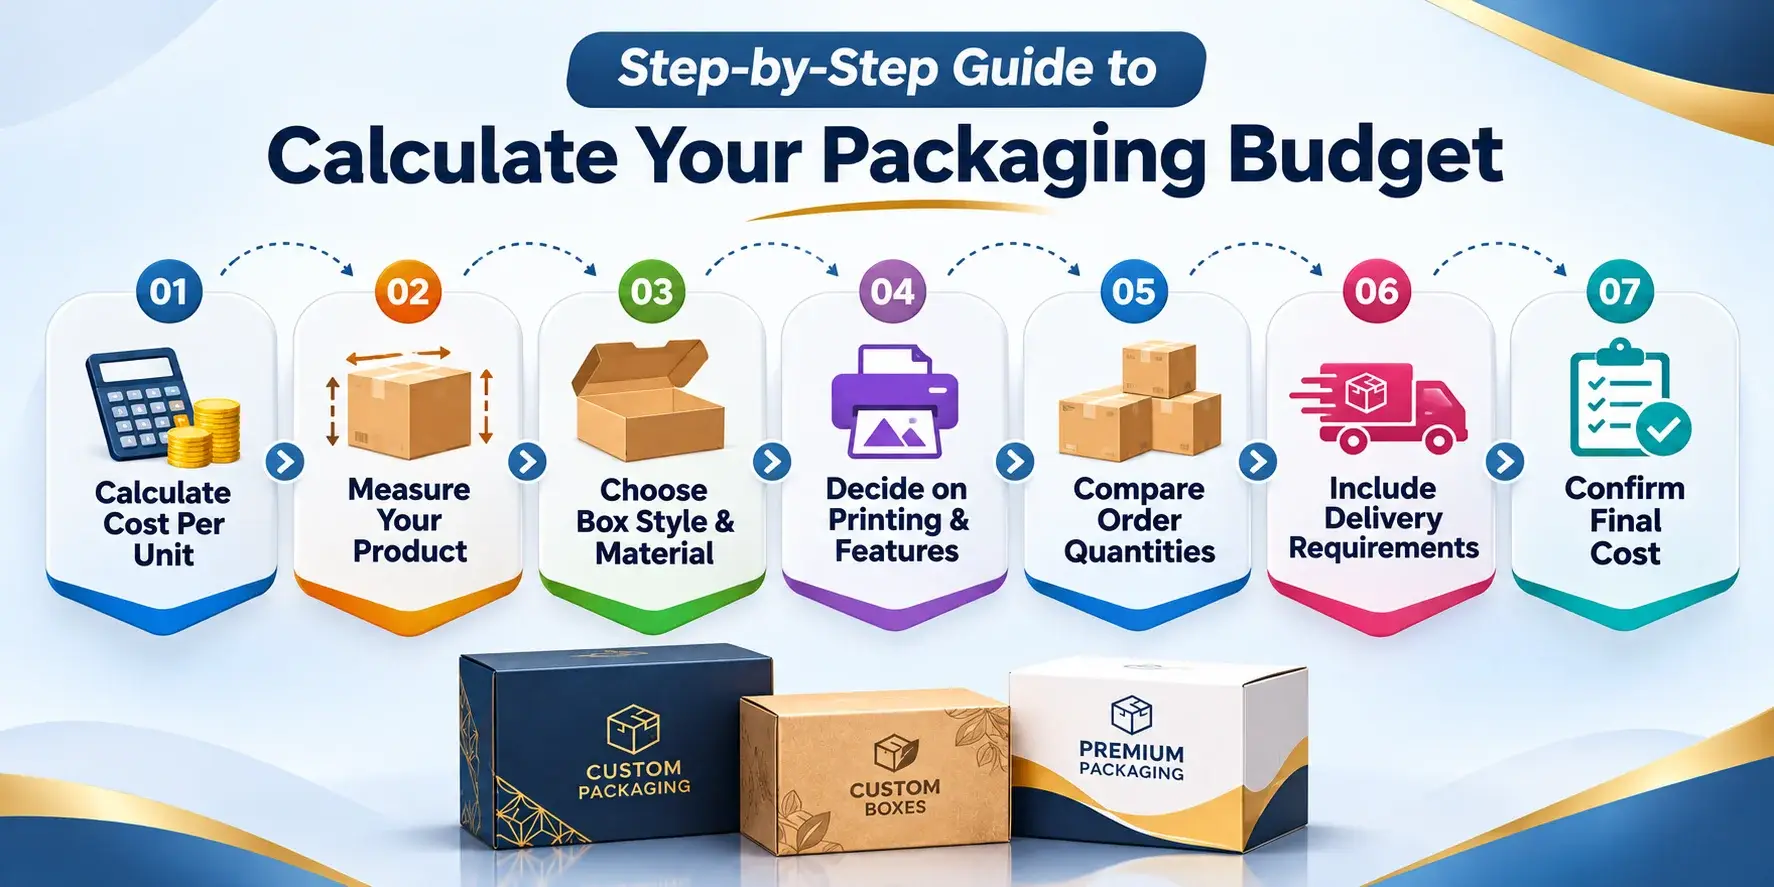
Step by Step: How to Calculate Your Packaging Budget
It is not necessary to complete all the work on your own. Your supplier will give you an end quote. But there are a few things that can be done first which will make the process a lot speedier and will help you to have an idea about the items that you are paying for.
Step 1: Calculate the Cost Per Unit
To calculate the cost of the single custom box, use this simple formula:
Cost Per Unit = (Fixed Setup Costs + Total Variable Costs + Shipping and Labor) / Total Number of Units
One-Time Set-Up Costs: These are the costs that are only paid once, for example printing plates, cutting dies, or structural design. They are fixed, regardless of how many boxes you make, 100 or 10,000.
Variable Costs: These costs vary in direct proportion to the number of boxes produced, such as raw material, ink, special finishes and inserts.
Shipping & Labor: Finished boxes sent to you with any assembly needed prior to delivery.
Worked Example
Say your fixed setup costs come to 300 dollars, your variable costs for 1,000 boxes come to 900 dollars, and shipping and labor come to 300 dollars. Add them all up and divide by 1,000 units to get 1,500 / 1,000 = 1.5 units.
1,500 / 1,000 = 1.50 dollars per box
This number reflects your actual box cost, rather than just the material cost. If your supplier changes the quantity, material or finish, run the formula again, as each change will alter the result.
Step 2: Measure Your Product
Measure the length, width, height, and weight of your product. Pack more than one item or add padding, add the extra space to your measurement.
Step 3: Choose Your Box Style and Material
Match your box to your product delivery to the customer. A box on a retail shelf will need different characteristics to a box that is sent straight to a customer's door. Mailer boxes are a good choice for direct-to-customer shipping as they will keep their condition during transit and will also look good when they arrive. A custom insert is used if your product is fragile or a set to ensure that it does not move around inside the box.
The material that your product is made from will have the greatest impact on your final price and in most cases this will be determined by the way that your product is to be transported and the way that you want it to feel in the hands of a customer. Kraft boxes are a natural and economical option if you're looking for something natural and affordable.
These can cost anywhere from $0.03 to $0.30 per box and are suitable for candles, soap, and light retail products. Need more strength for shipping? Corrugated boxes are a little more expensive, typically $0.50 to $2.00 per box, but they last a lot longer in transit and that's why so many ecommerce and subscription businesses use them.
When you're shipping something such as jewellery or a high-end skin care product, most brands will go with rigid boxes starting at around $3.00 per box as the more robust construction and polished finish are worth the price in a luxury unboxing moment.
Step 4: Decide on Printing and Features
Write down what you really need: your logo and your product information. Then go through the extras that you can add on later if you have extra money.
Step 5: Compare Order Quantities
Ask for quotes at a few different quantities, such as 1,000, 2,500, and 5,000 boxes. Calculate the cost per unit for each option and observe the trend of the total cost and the cost per box.
Step 6: Include Delivery Requirements
Consider your delivery location, delivery time and if you must have a rush order before you ask for quotes. Having this done early will ensure that your budget is correct and you have more options to choose from when it comes to suppliers.
Step 7: Confirm Your Final Cost Per Box
When your supplier provides you with a real quote, repeat Step 1 using the numbers provided. This will validate your actual cost per box before ordering.
If the final number is higher than what you thought, determine what has changed. It's typically one of the following: it's a material upgrade, or it's more print, or it's a rush delivery price that wasn't mentioned before.
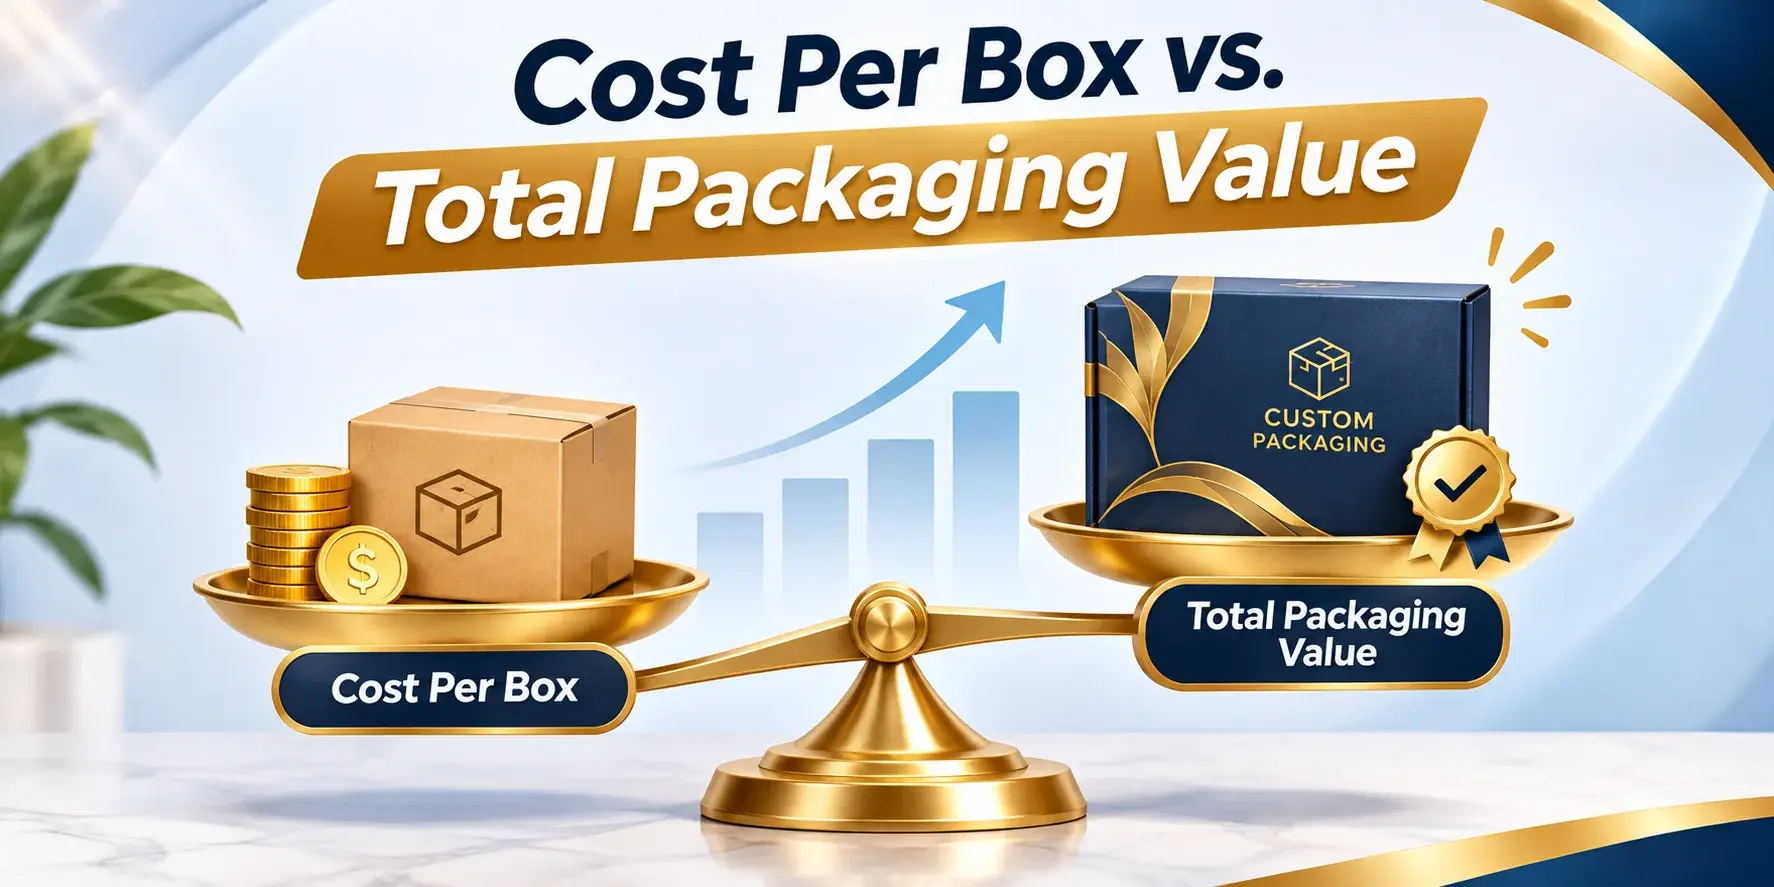
Cost Per Box vs. Total Packaging Value
Don't just consider the price of a quote. A slightly higher price per box can still be the better choice if it gives you:
Improved protection that reduces damage and restores.
A box size that reduces your dimensional shipping weight.
A finish or print quality which is distinguished on the shelf.
An improved unboxing experience to keep customers coming back to the store.
Before choosing the lower number, ensure that both quotes are for the same material grade, thickness and print coverage. Lower total costs don't necessarily equate to real savings.
Should You Use an Online Packaging Cost Calculator?
There are lots of suppliers that will provide a complimentary cost calculator on their website. The tool takes only seconds to calculate an estimated price for your box style, size, material and quantity. A quick method to arrive at a starting budget number without having to wait for a sales call to arrive.
There are limitations to a calculator. It can't see your actual product, so it can't be sure if the size, material, or shape you want is good. It will also not consider your artwork, special finishes or delivery address.
To create an estimate number, use a calculator to help you; then call a supplier directly to verify your exact specifications and to get your final accurate quote.
What to Have Ready Before You Request a Quote
A quick checklist helps to get your supplier right the first time and speeds up the process:
The dimensions and weight of the product.
The preferred box style and material is what we can provide.
Order quantity or a few quantities to compare
Preferences for printing and finishing.Printing and finishing preferences.
The place and date of delivery.
How to Plan Your Box Budget
Determine your budget and then decide what your box really requires, including the appropriate size and protection level. Extras and special finishes should be considered optional and added after the basic cost of the vehicle is covered.
A lot of business organizations maintain their packaging and fulfillment expenses at 5-10 percent or even less than that of the retail price of the product. This rule is important to keep your margin tight as your order size increases.
Look at some alternatives in comparison. Predict the amount of product you think you will be selling in the coming months, and then determine which packaging is most cost effective at that quantity. A good selection is one that is both affordable and offers protection while also giving the customer a sense of value.
How to Save Money Without Cutting Corners
Select an appropriate box size: The well fitted box will save you money in material and shipping.
Compare quantities, not unit price: Consider the lower cost per box vs storage space needs and speed of sale.
Make sure that the design is simple: All sides of the box don't need to be printed. A good design doesn't have to be expensive.
Be wary of any hidden charges: Inquire with your supplier about freight, bulk storage and assembly expenses. These charges are not obvious and can alter your overall budget.
Test a sample before: If you want to avoid size, color, or structure problems, request a sample from our staff.
Common Budgeting Mistakes to Avoid
Selecting a box without first measuring the product: This frequently results in an inadequate fit or wasted material when ordered.
Relying on price comparisons when shopping for quotes: A lower price might be a combination of lower thickness or less printing. Read the entire specification.
Ignoring delivery requirements: Not doing so reduces your choices and may result in an extra rush charge for you.
The addition of features for no apparent or obvious purpose: Extras get expensive quickly and do not significantly affect the customer's perception of the product.
To neglect to review the sample: It will be much cheaper to correct a sizing or colour error in a sample than to do it after a complete production run.
When Should You Start Planning Your Packaging Order?
Typically, Custom Packaging orders take 3 to 4 weeks to produce after they are approved with a design. More time may be added to this by using specialty materials or finishes. If you are introducing a completely new product, allow for a longer timeframe as it may take a good few months to find artwork, to test samples and to coordinate shipping. You have the option of building extra time, either way, so you can look at a sample, look at your artwork, and make minor changes before going into full production.
Early means you have time to shop around for a few quotes and get the best price on your larger orders rather than settling for the first one you see.
At ThePremiumBoxes, we offer competitive pricing to help businesses get quality custom packaging at rates that suit their budgets. Our standard turnaround time is 8 to 10 days, and for orders needed sooner, we also offer a rush service with a turnaround time of 4 to 6 days. We also have a team of professional designers who can help you through the entire design process, from developing your initial idea and choosing the right packaging style to preparing the final artwork for production. Whether you already have a design or are starting from scratch, our team is here to help you get every detail right before your order goes into production
Conclusion
Learning how to calculate custom packaging costs and plan your box budget comes down to a few simple building blocks: your material, your box size, your quantity, your printing, and your finishes. Knowing the effect of each will help you to create a packaging budget that works for your product and helps preserve your profit margin.
Always test a sample before committing to a full production run, measure your product, determine what your box really needs, compare a few quantities, and so on. Some foresight at the beginning will save you money, time and stress later.
Get Custom Packaging That Fits Your Budget
You don't need to work out the packaging budget by yourself. ThePremiumBoxes has worked with brands like Adidas, Google, HP, Unilever, Red Bull and a lot more, and has a good rating from real customers on Google.
It's the kind of history that is created over the years by helping businesses turn their product data into packaging that supports their goals and budget.
It's easy to get started. Share your product specifications and ThePremiumBoxes will respond with a custom packaging plan within 24 hours, and the design team will be able to help you select the best box style, material and finish for free. There is no minimum order quantity, so you can order a smaller quantity and test it out to see if it works before committing to a full order, and you can order a sample before you place your order.
ThePremiumBoxes will provide you with a free quote and offer you a packaging strategy that is guided by your product, your schedule and your budget.
Frequently Asked Questions
Add your fixed setup costs, variable costs, and shipping and labor costs, then divide by the number of boxes you are producing. This gives you your cost per box.
Yes, in most cases. Larger orders spread out setup costs. Keep in mind a larger order also raises your total cost, so check your budget and storage space before you order more.
They give you a reasonable starting estimate based on the specifications you enter, but they cannot see your actual product or artwork. Use one for early budgeting, then confirm your final price with a supplier.
Many businesses budget 5 to 10 percent of the product's retail price for packaging and fulfillment. This keeps your margin protected as your order volume grows.
Yes. A sample lets you check the size, color, and structure before you commit to a large order.
Start 3 to 4 weeks before you need finished boxes in hand, since that is the typical production window. Add more time if you plan to test a sample or use specialty materials or finishes.
The most common reasons are a material upgrade, a change in print coverage, or a rush delivery fee added after your first estimate. Run the formula again with the updated numbers to confirm your real cost.